Image compression
How to Reduce Image Size Without Losing Quality
Most images are far heavier than they need to be. Three steps — resize, compress, pick the right format — usually cut a file by 60–90% with no difference anyone can see.
By QuickImageFixPublished 8 min read
In short
- Resize first: a photo straight from a phone is often four times wider than any screen shows it, and fewer pixels is the biggest saving there is.
- Then compress at around 80% quality — the point where JPG and WEBP files shrink dramatically but still look identical at normal size.
- Need an exact size, such as under 100 KB for a form? Set it as a target and let the compressor find the highest quality that fits.
- Pick the format for the job: JPG for photos, PNG for screenshots and transparency, WEBP for anything on a website.
- Work from the original every time. Re-compressing a file that is already compressed loses quality for very little gain.
A photo from a current phone is typically 3–6 MB and 4,000 pixels or more across. That is far more than a web page, an email or an upload form needs — and the excess is exactly what makes pages slow, attachments bounce and forms reject your file.
The good news is that almost all of that weight can go without anyone noticing. This guide covers how to reduce image file size in the order that gets the best result — resizing, compressing, hitting an exact size in KB, choosing a format — and which tool to use for each. Every tool linked here runs in your browser, so your images are never uploaded.
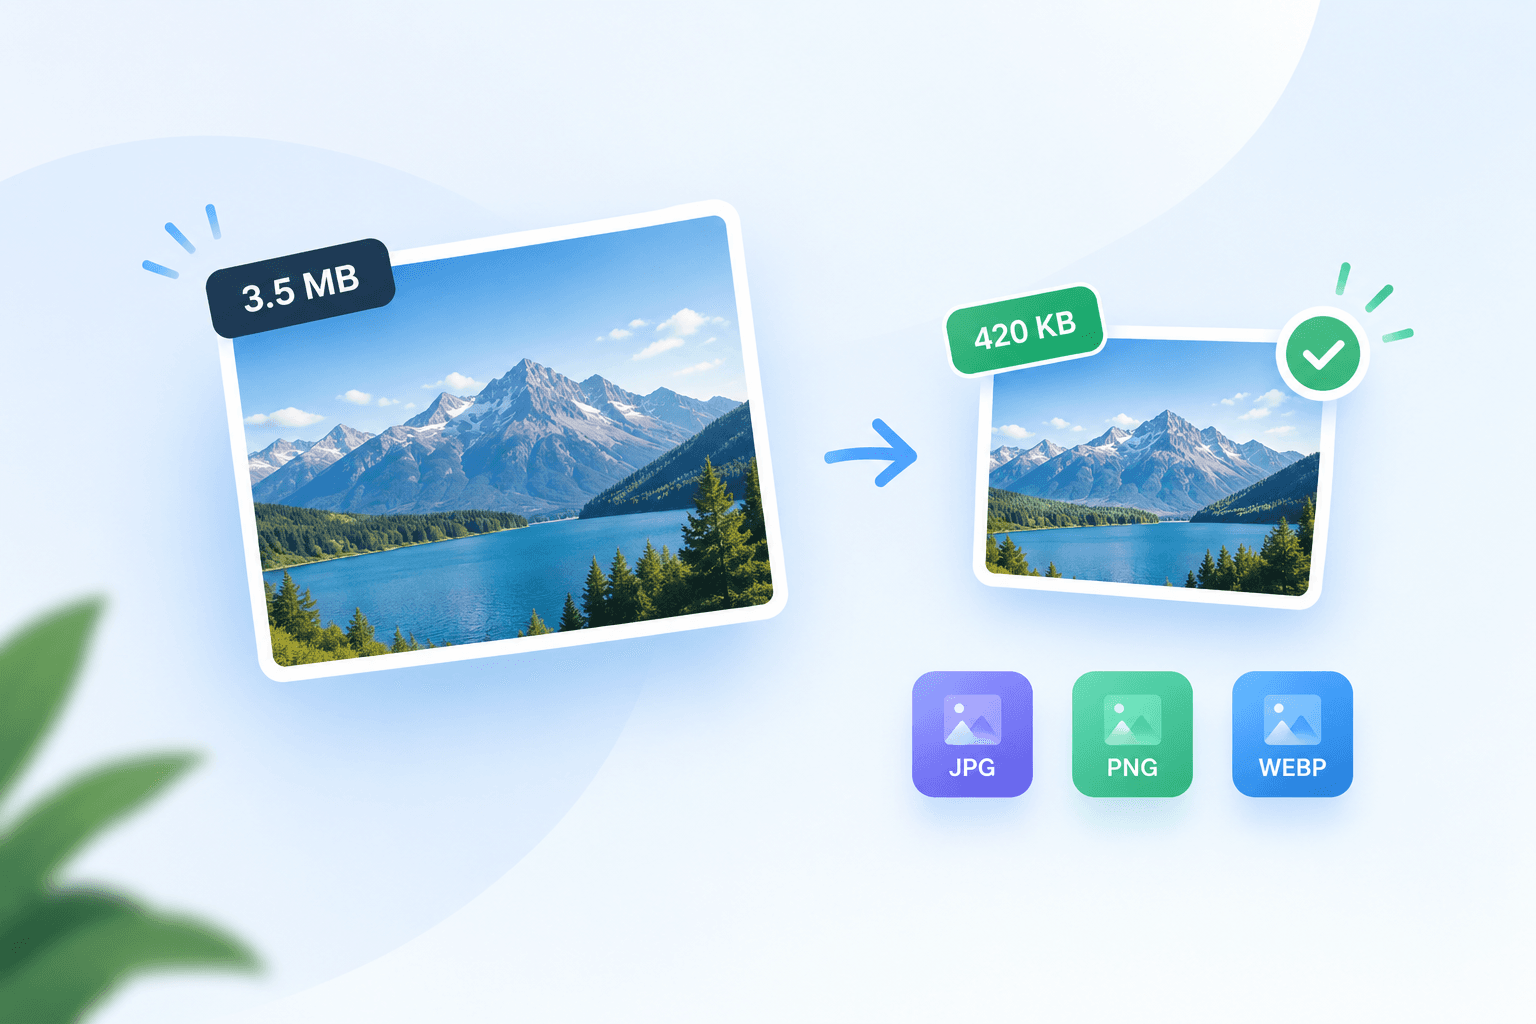
File size and image size are two different things
"Reduce image size" can mean two things, and they are fixed in different ways. The dimensions are how many pixels wide and tall the image is. The file size is how many kilobytes or megabytes it takes to store those pixels. Halving the dimensions leaves a quarter of the pixels, so it shrinks the file too — but a file can also get much smaller without its dimensions changing at all, by being compressed.
| Method | What changes | Typical saving | Best for |
|---|---|---|---|
| Resizing | The number of pixels | 50–90% | Photos larger than they will be shown |
| Compressing | How the pixels are stored | 40–80% | Every JPG, WEBP and PNG |
| Changing format | The encoding itself | 25–80% | PNG photos and images for websites |
The three stack. A photo that is resized, compressed and saved in the right format often ends up at a tenth of its original size.
Step 1: Resize to the size you actually need
Start here, because it is the biggest saving and it costs nothing in visible quality: pixels that are never shown on screen are pixels nobody misses. Decide where the image is going, then resize it to that width.
- A full-width image on a website: 1,600–2,000 pixels wide.
- An image inside an article or on a product page: 800–1,200 pixels.
- An email attachment or a form upload: 1,200–1,600 pixels on the long side.
- Social media: every platform has its own sizes — an Instagram square post is 1,080 × 1,080.
Use the image resizer with the aspect ratio locked, so the photo is scaled rather than stretched. For social platforms, Resize for Instagram and Resize for Facebook have the exact sizes built in.
Step 2: Compress at the right quality
JPG and WEBP use lossy compression: they discard the detail the eye is least likely to notice, and a quality setting decides how much. The curve is steep at the top. Going from 100% to 80% typically halves the file with no visible change, while going from 80% to 60% saves much less and starts to show.
The 80% rule
For photos, 75–85% is the sweet spot for almost every use. Go lower only for thumbnails and previews, where artefacts do not matter, and higher only for images you will print or edit again.
The image compressor starts at 80% and shows the new size next to the original before you download, so it is easy to try two settings and keep the better one. To compress a JPEG and keep it a JPEG, use Compress JPG.
PNG files are different
PNG is lossless, so a quality setting does nothing to it — re-saving a PNG as a PNG leaves it the same size. What works is reducing its colours to an optimised palette of up to 256, which is how dedicated PNG optimisers do it. Compress PNG does exactly that and keeps the transparency: screenshots, logos and graphics typically shrink by 50–80% and stay real PNG files.
How to compress an image to a specific size (100 KB, 200 KB, 1 MB)
Upload forms, job portals and government sites often state a hard limit — "JPG, max 200 KB" — and what you need then is not a quality setting but a file size. The image compressor can aim for one directly:
- Add the image and choose Target file size.
- Type the limit in KB or MB, or tap one of the presets: 100 KB, 200 KB, 500 KB, 1 MB or 2 MB.
- Press compress. The tool finds the highest quality that fits under the limit and, only if quality alone cannot get there, scales the image down as little as needed.
- Check the result card — it states the final size, the quality used and any new dimensions — then download.
| Target size | Typical use |
|---|---|
| 20–50 KB | Profile pictures, avatars, signature images |
| 100–200 KB | Application and ID forms, email attachments |
| 500 KB–1 MB | Images on web pages and marketplace listings |
| 2 MB and up | High-quality uploads and print services |
Step 3: Choose the right format
The format decides how efficiently an image can be stored at all, and the wrong one can make a file several times heavier than it needs to be.
| Format | Use it for | Avoid it for |
|---|---|---|
| JPG | Photos that must open everywhere | Logos, text, transparency |
| PNG | Screenshots, logos, anything transparent | Photos — they get very heavy |
| WEBP | Any image on a website | Old software that cannot open it |
The most common mistake is a photo saved as a PNG: converting PNG to JPG typically cuts it to between a fifth and a third of the size. For images on a website, WEBP is usually 25–35% smaller than a JPG of the same quality, and every current browser displays it — use JPG to WEBP, or PNG to WEBP, which keeps transparency. Image to WEBP takes any format.
How to reduce photo size on iPhone and Android
Every tool in this guide works in a phone browser, and the photo never leaves the phone: open the page in Safari or Chrome, tap to choose a photo, and download the smaller copy back to your photos or files.
On an iPhone
iPhones save photos as HEIC, which many websites and Windows programs still refuse. Convert one with HEIC to JPG and then compress the JPG, or make the camera shoot JPG from now on in Settings > Camera > Formats > Most Compatible.
For email, the Mail app offers Small, Medium, Large and Actual Size when you send photos — a quick way to shrink an attachment, though you cannot choose an exact size.
On Android
Most Android cameras already save JPG. Pick the photo from your gallery in the image compressor to compress it, or set a target size. Google Photos can also back photos up at its Storage saver quality, which compresses the copies in the cloud but leaves the originals on the phone unchanged.
Mistakes that cost quality
- Compressing the same file again and again. Each lossy save discards a little more detail, so keep your original and always start from it.
- Compressing before resizing. Resize first, then compress, so the quality setting is spent on the pixels that will actually be seen.
- Using PNG for photographs. A photo saved as a PNG is lossless and enormous; a JPG or WEBP looks the same at a fraction of the size.
- Going too low on quality to meet a size limit. If a file is still too big at 70%, reduce its dimensions instead — that looks far better than heavy compression.
Compressing also removes EXIF metadata — the camera model, the date and any GPS location stored in the photo. That saves a few more kilobytes, and it means a photo you share no longer reveals where it was taken.
Frequently asked questions
- How do I reduce the file size of an image without losing quality?
- Resize it to the size it will be shown at, then compress it at around 80% quality. At that setting a JPG or WEBP typically shrinks by half or more with no difference you can see at normal viewing size. For screenshots and graphics, Compress PNG reduces the colours instead and keeps them sharp.
- How do I reduce an image to a specific size in KB?
- In the image compressor, choose Target file size and enter the limit — 100 KB, 200 KB or whatever the form asks for. It finds the highest quality that fits and only scales the image down if it has to, then shows the exact size before you download.
- Does resizing an image reduce its quality?
- Making an image smaller keeps it sharp at its new size; it only has fewer pixels, so it cannot be enlarged again later without blurring. Keep the original if you might need a bigger version. Making an image larger than it is always softens it.
- What is the best quality setting for a JPG?
- 75–85% for photos on websites and in emails. Use 90% or more for images you will print or edit again, and 50–70% only for thumbnails.
- Is WEBP better than JPG?
- For websites, usually yes: WEBP is typically 25–35% smaller at the same visible quality, and it supports transparency. JPG is still the safer choice for files you send to people or upload to older systems.
- How do I reduce photo size on my iPhone?
- Open the image compressor in Safari, tap to choose the photo from your library, set the quality or a target size and download the result. HEIC photos can be turned into JPG first with HEIC to JPG.
- Are my images uploaded when I use these tools?
- No. Every tool on QuickImageFix runs in your browser, so the image is processed on your own device and never sent to a server.